Wednesday, February 26, 2014

Reasons I Love You MDS Swatchbook

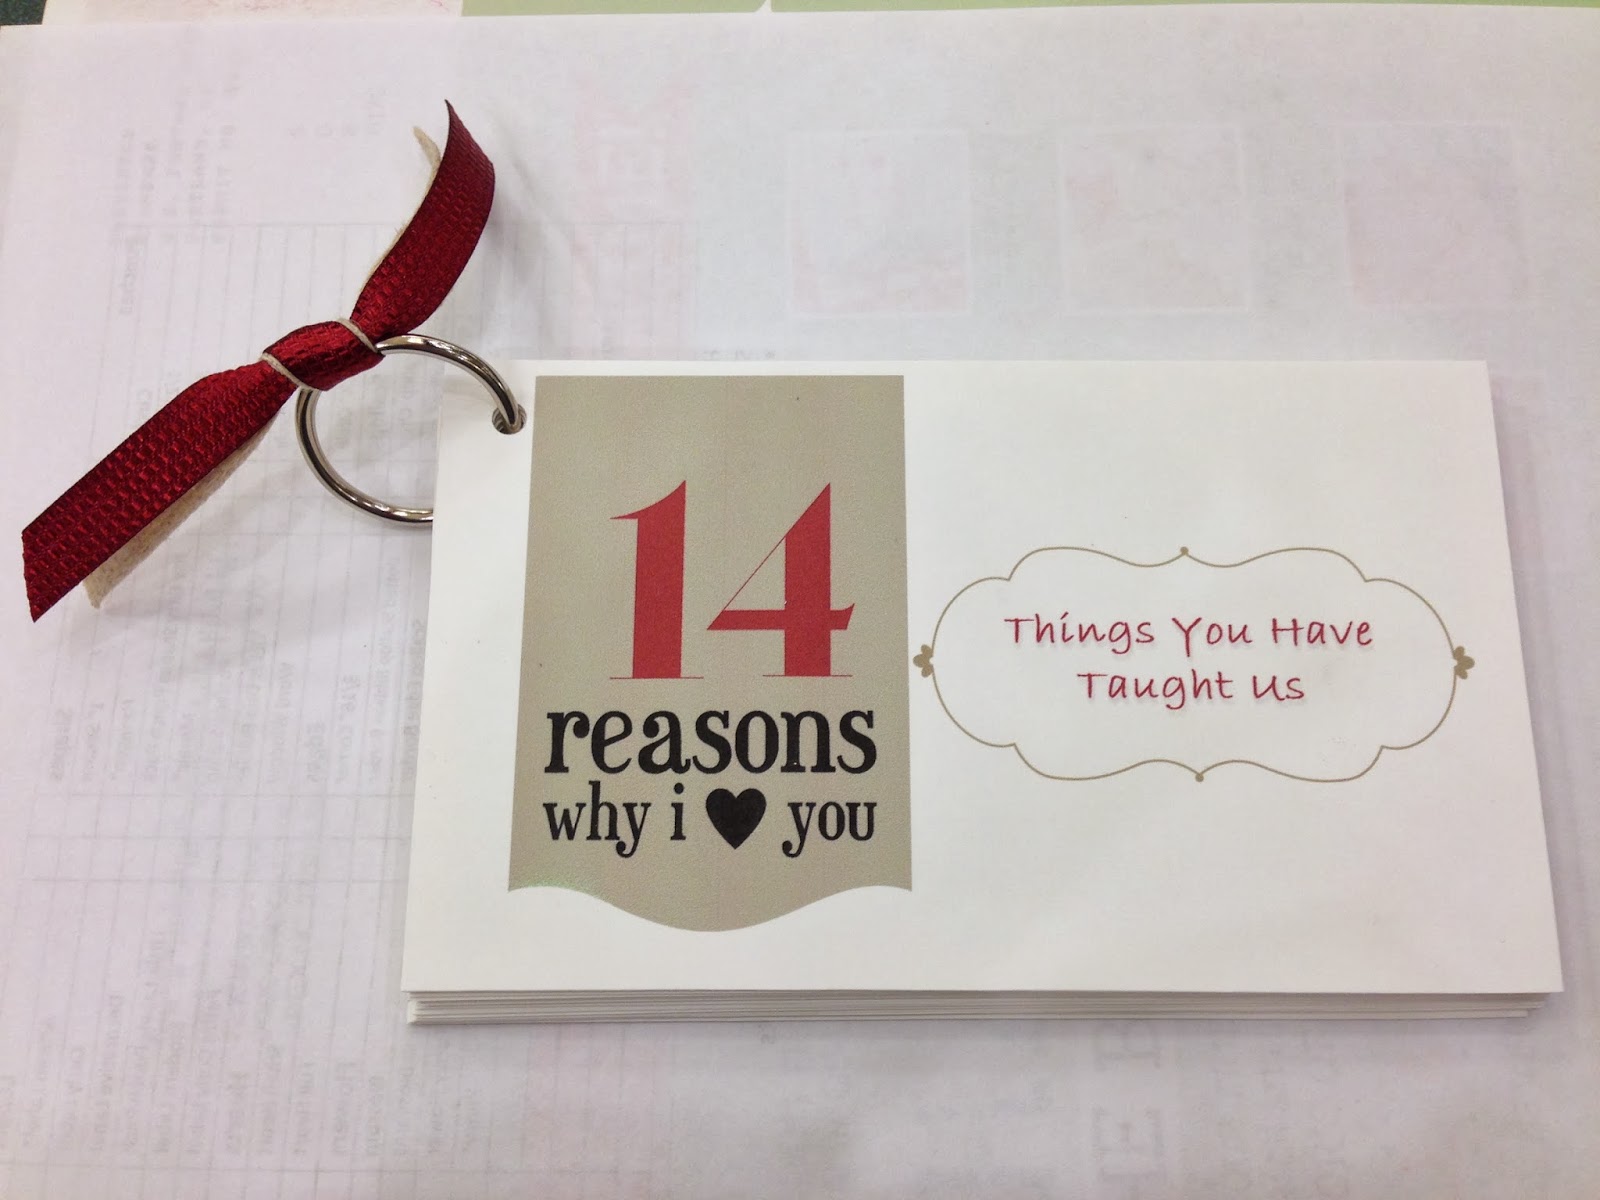
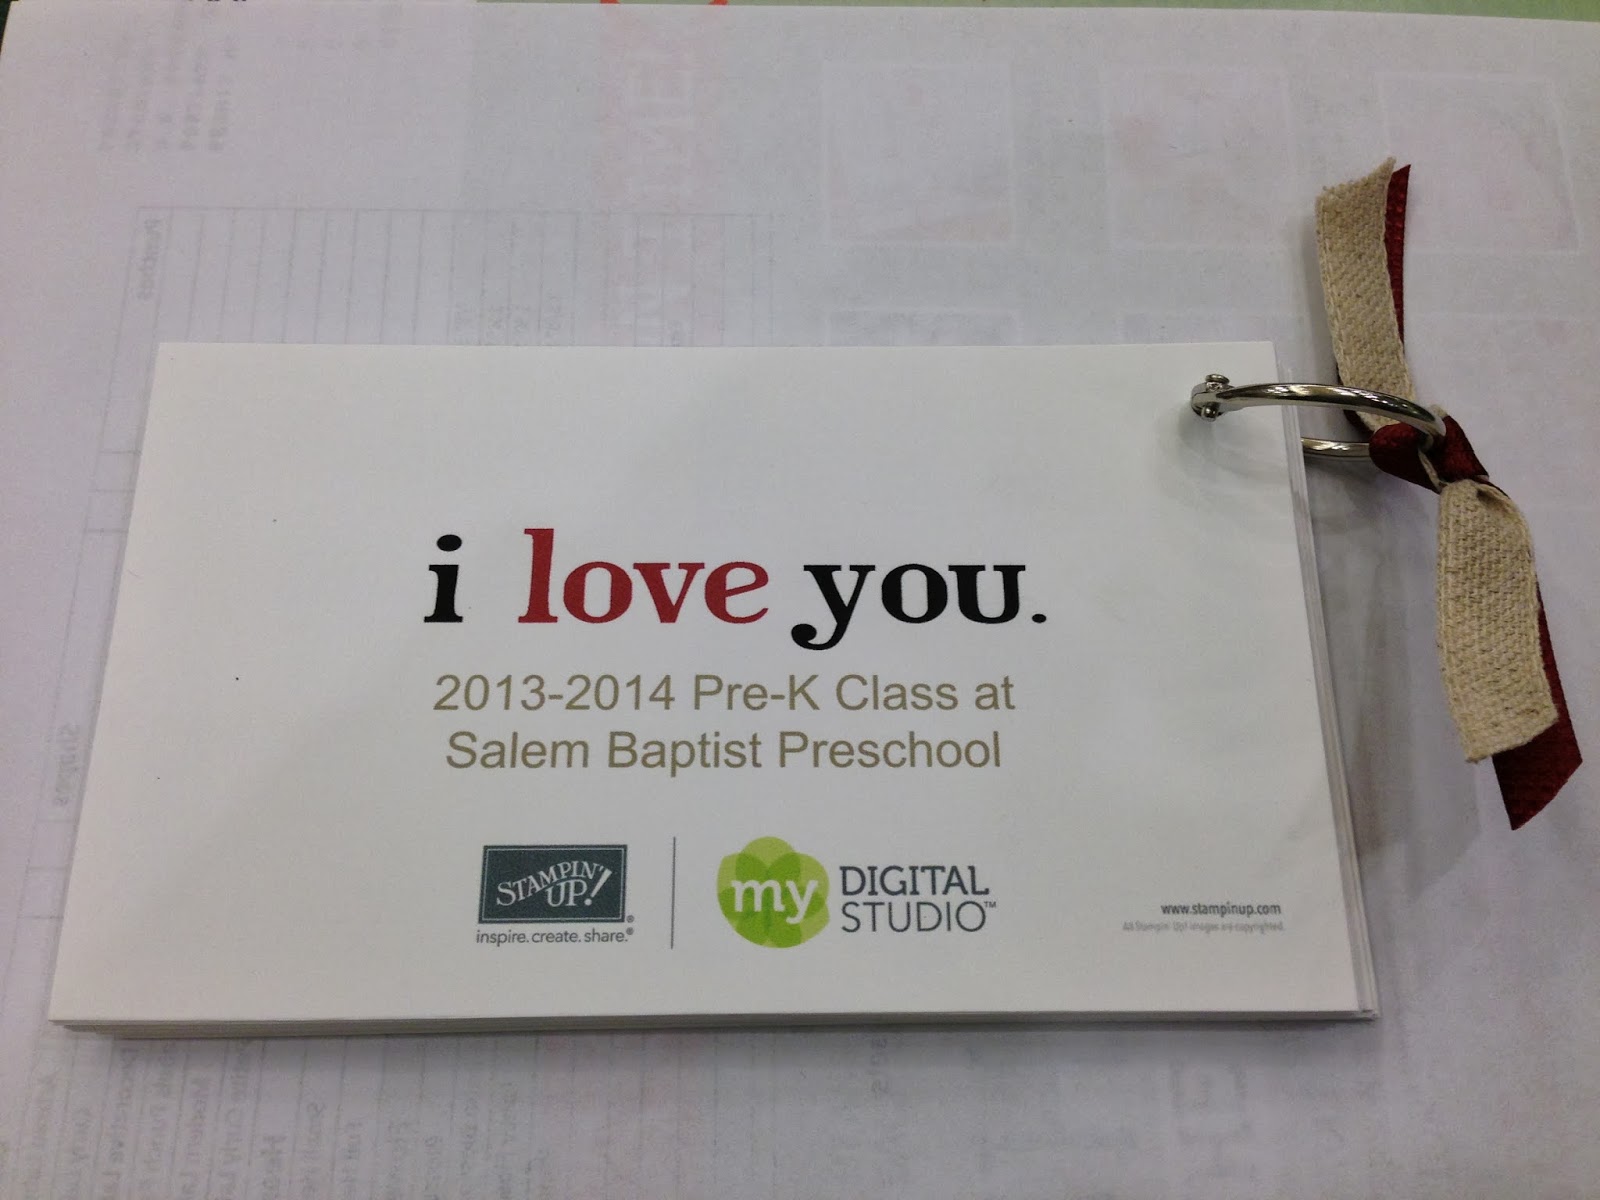
Front of book
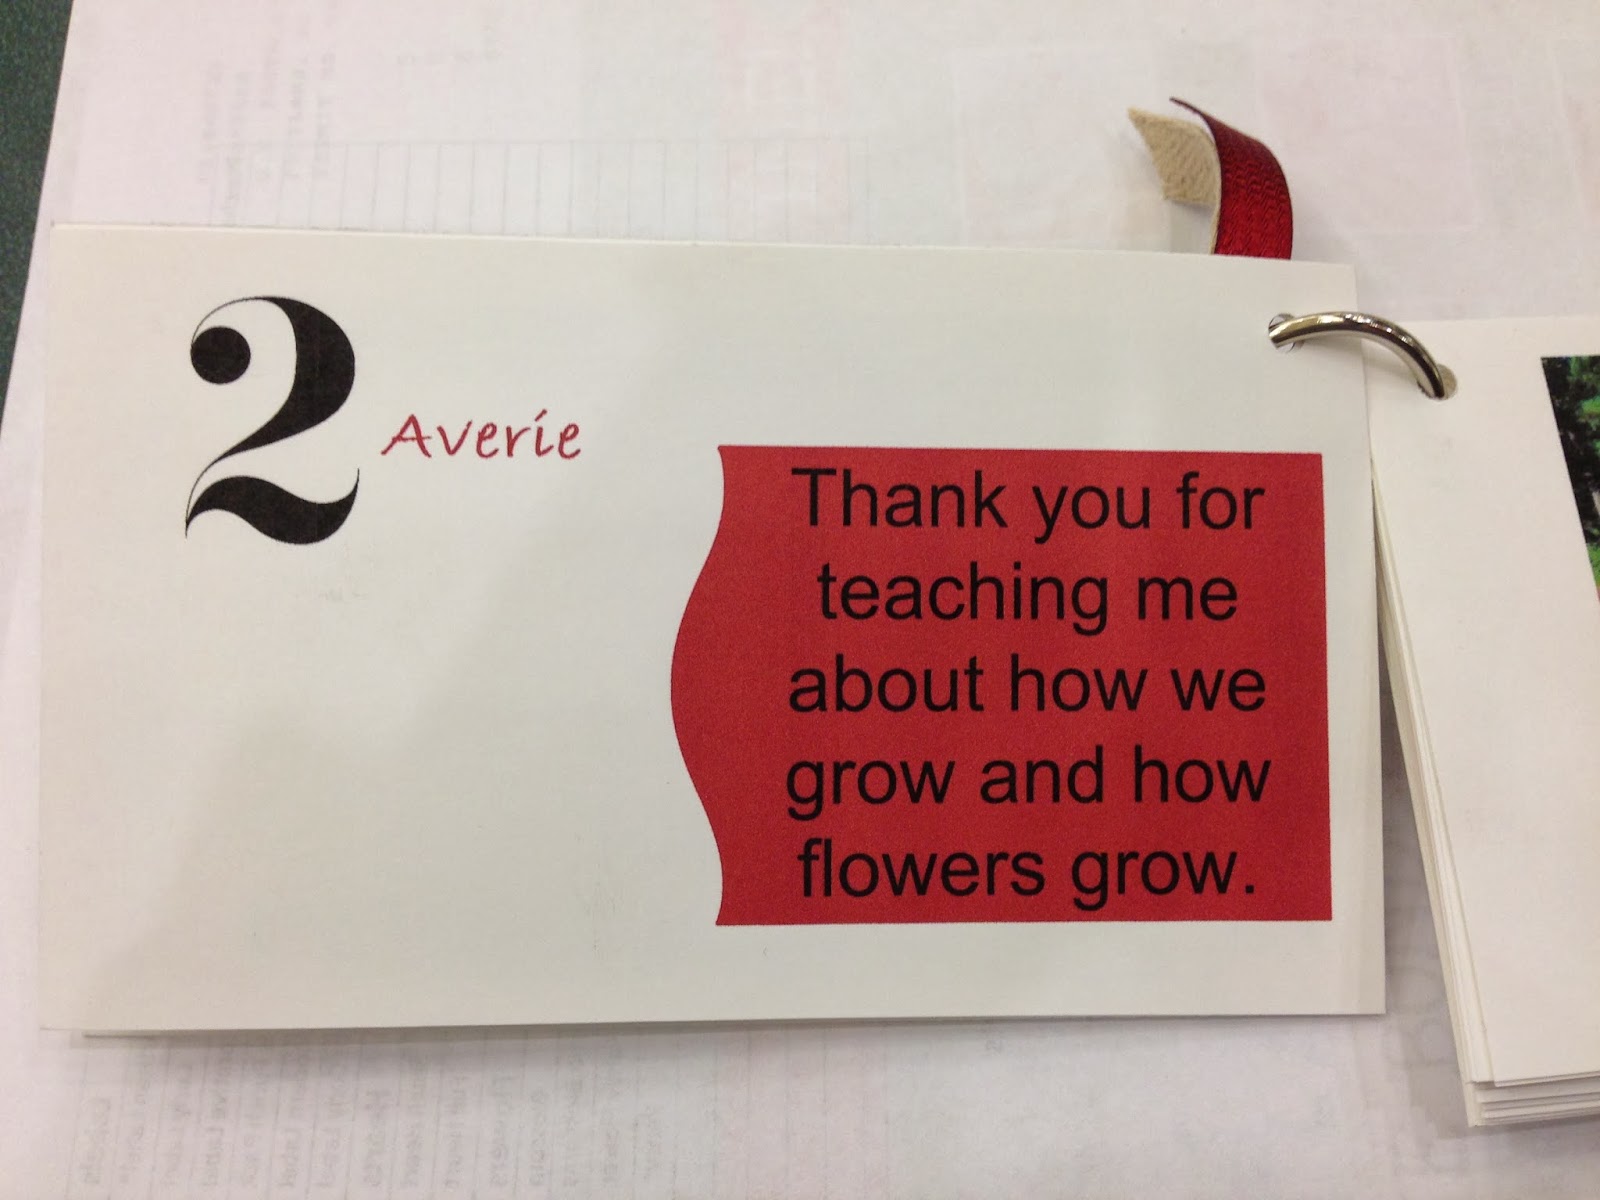
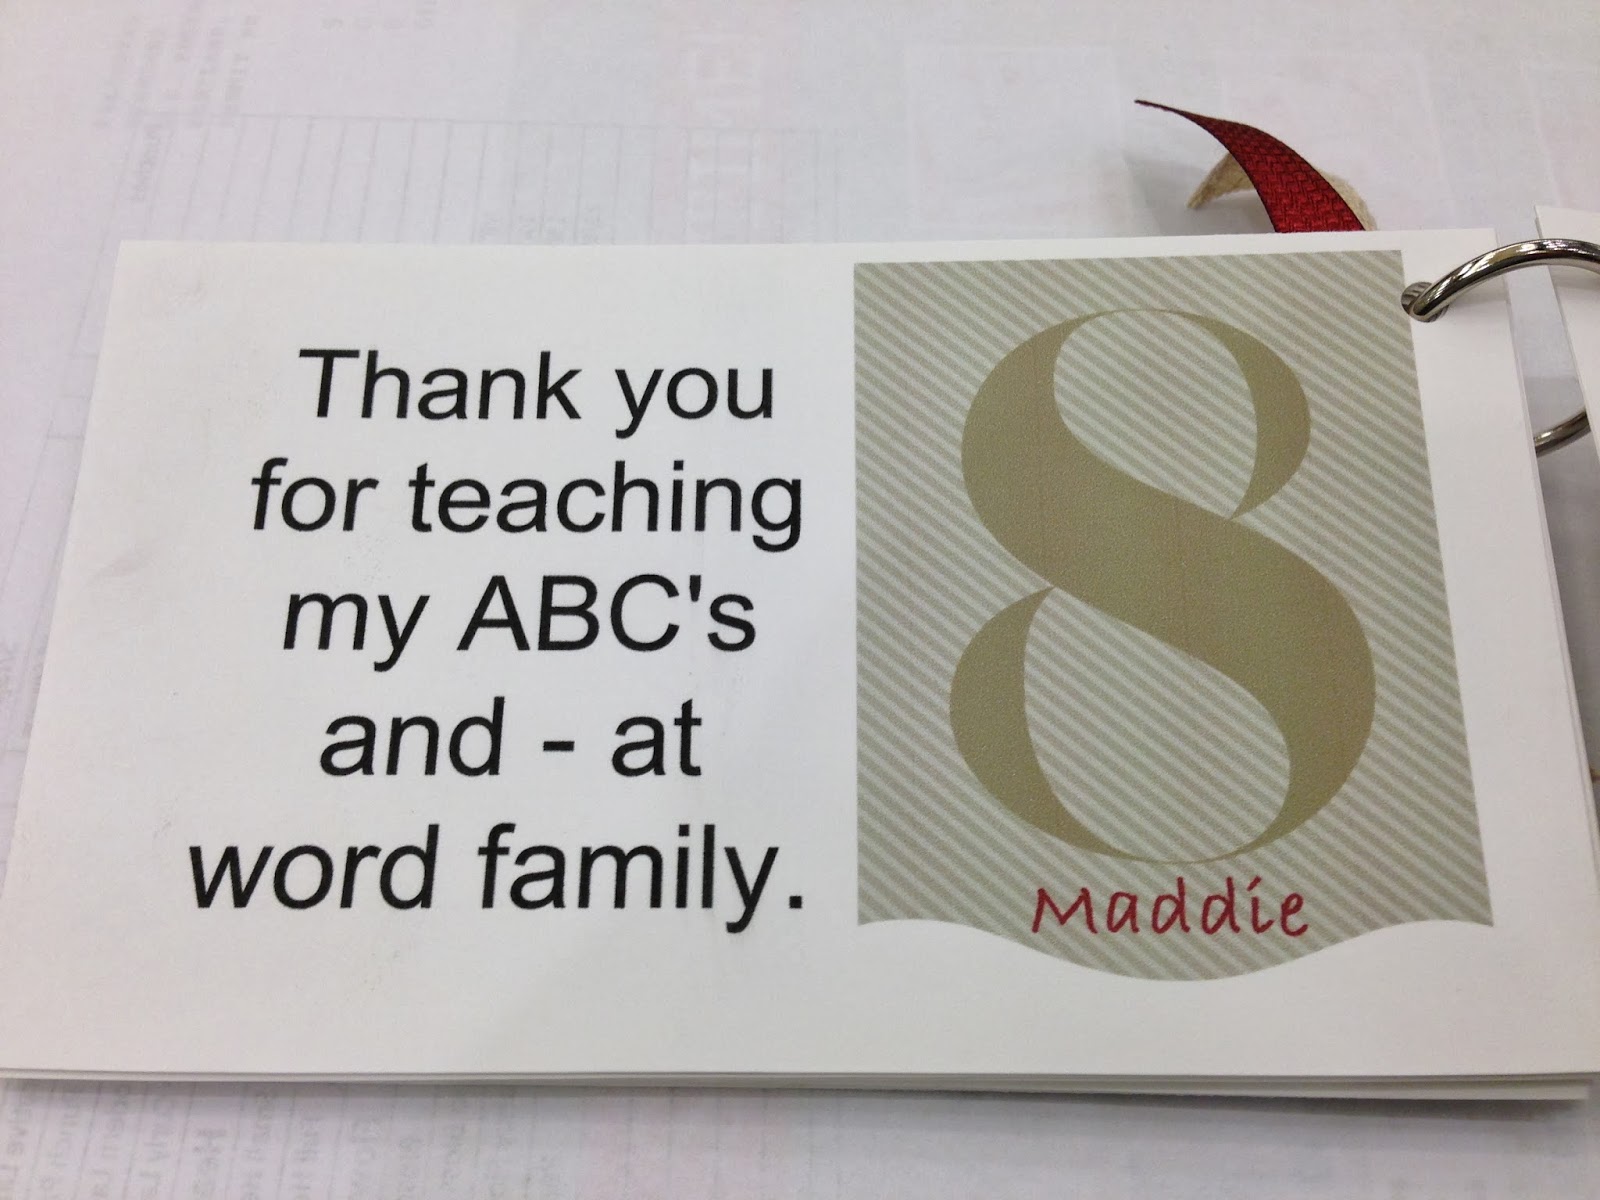
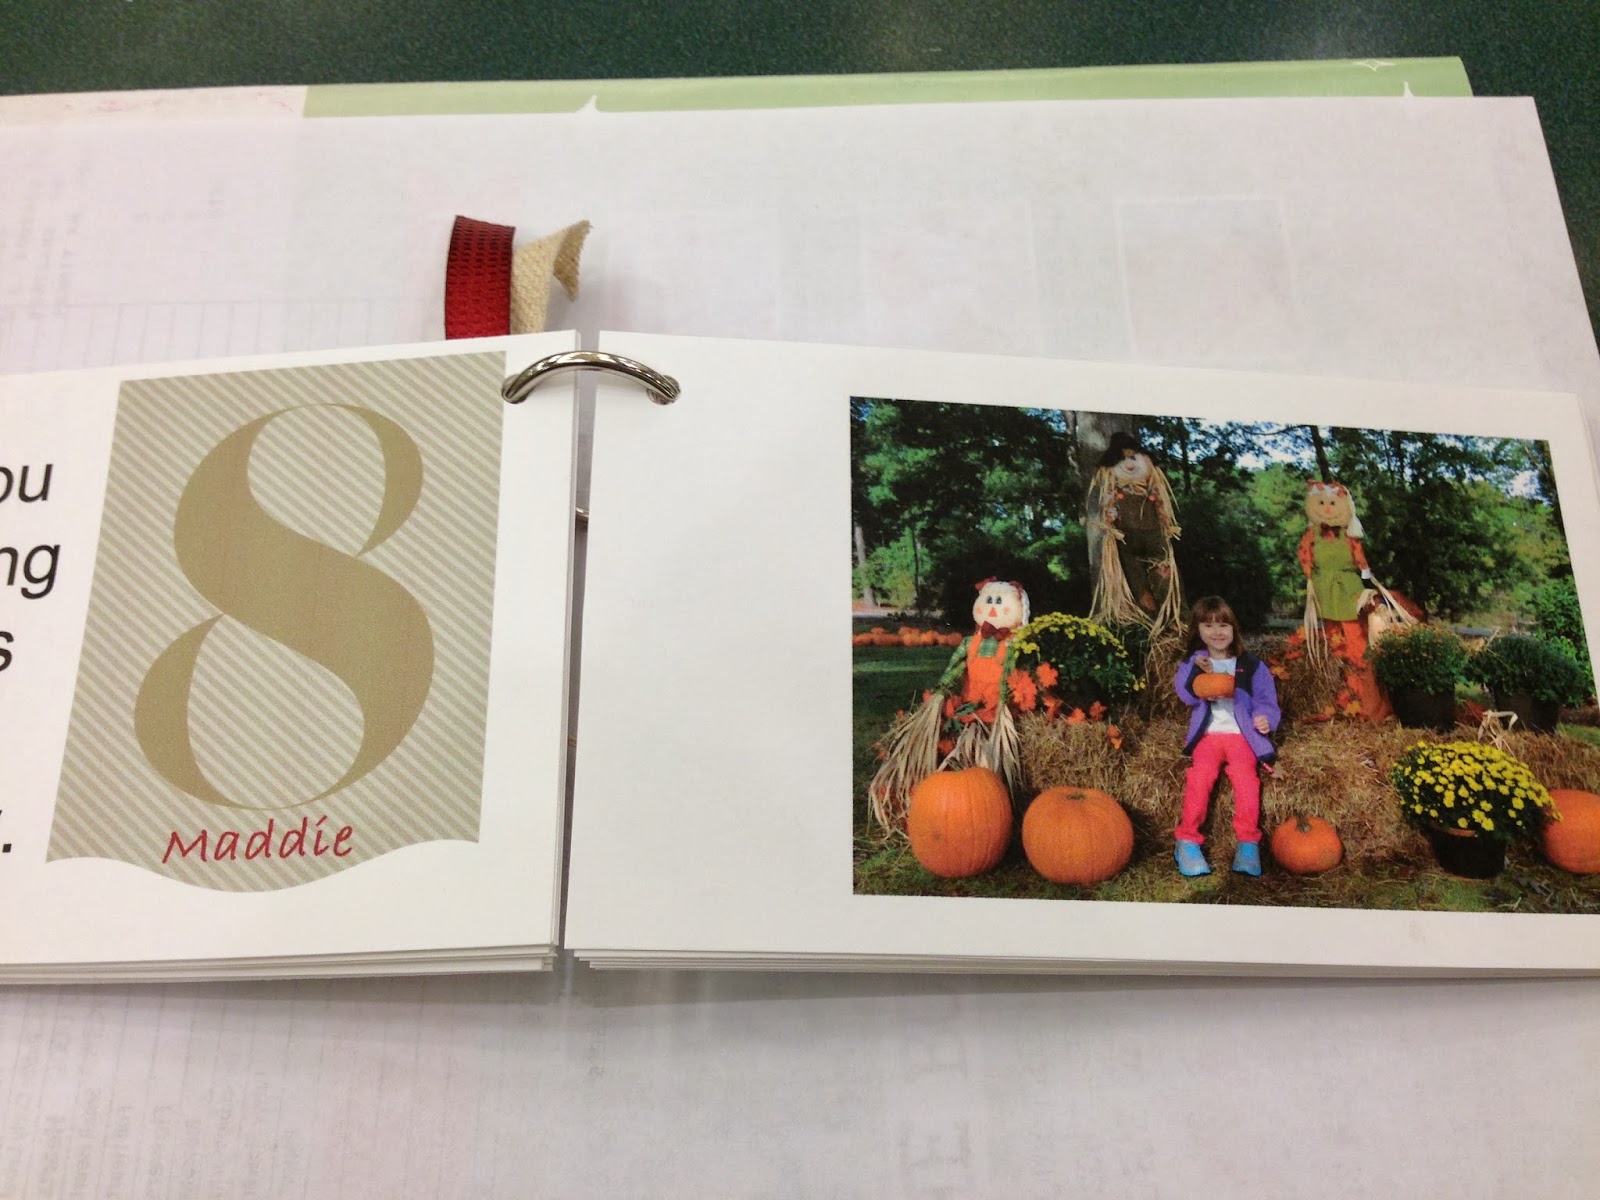
Recently we celebrated my daughter's preschool teachers' birthdays.  To help with the celebration, I had the preschoolers stamp their fingerprints inside a stencil to create an apple or a heart for their birthday cards.  Afterwards I asked the preschoolers what the teachers have taught them this year.  All of their responses were adorable and I didn't change how they said them (no corrections in grammar or incomplete thoughts).  But I was in need of a way to present the teachers with quotes from their students so I went straight to MDS (My Digital Studio).  I quickly downloaded the "Reasons I Love You" swatchbook template to get me started.  The best thing about this download is that I can use this template over and over again for other projects including a Reasons I Love You book for their grandparents.  All I had to do was change some of the wording and type the preschoolers' responses onto each page.  I also added the kids' pictures on the opposite page so the teachers could remember their 2013-2014 Pre-K Class.  It was so simple and came together so quickly.  The hardest part was printing it correctly on my printer.  Next time I will give myself more time to complete a project like this and have it printed through Stampin' Up!'s printing services.
Sample of a page from the book
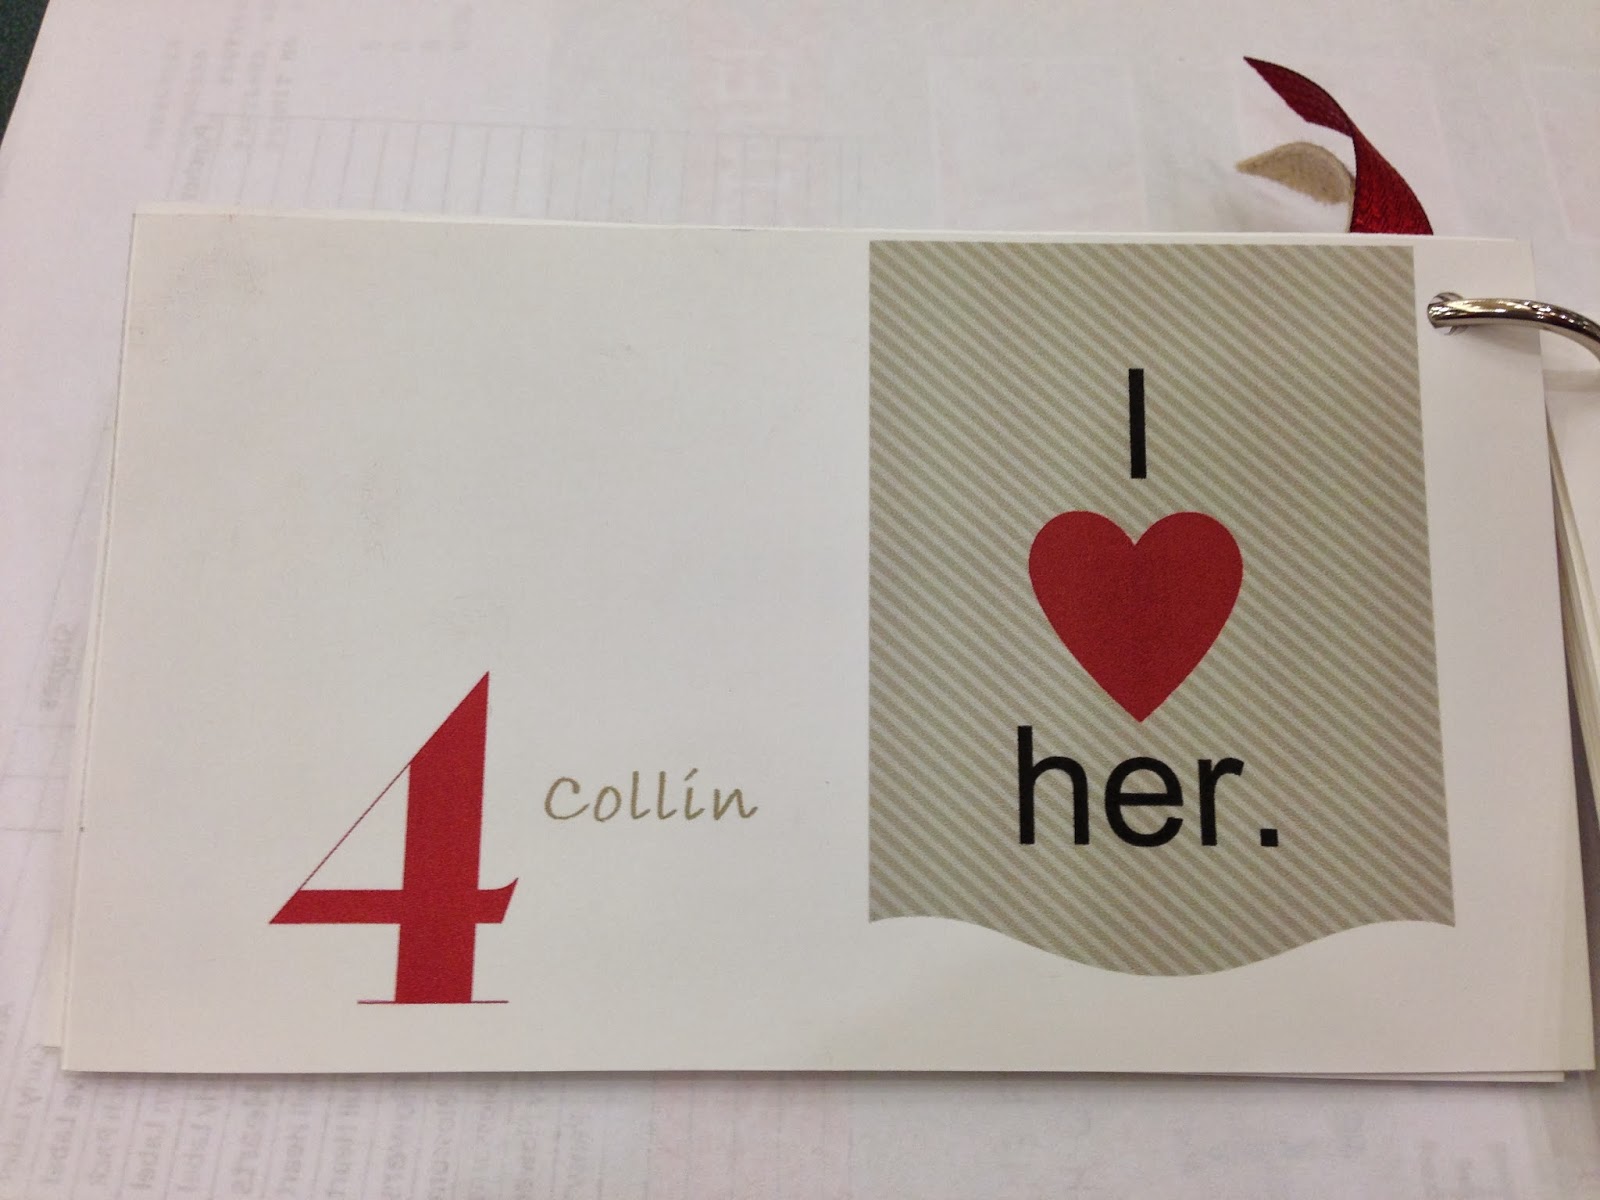
Here I used one of the stamps from the swatchbook template to create the "I (heart) her."
Sample of a page from the book
Sample of the book that includes my daughter's picture on the opposite page of her quote.
Back of book
Whenever you are in need of an awesome gift but don't have a lot of time to create it, I suggest checking out Stampin' Up!'s MDS downloads and using one of the templates to make a creative and quick gift.  They have such great ideas, graphics and different options for you to choose from that you will definitely find what you are looking for.  Give MDS a try for FREE for 30 days by clicking here and click on MDS Free Trial.
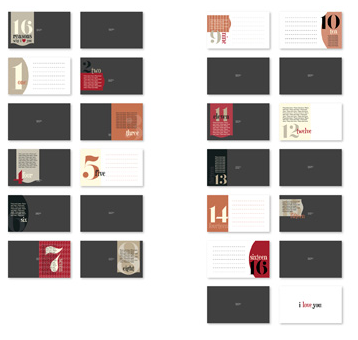
Reasons I Love You swatchbook template
This is what the swatchbook page looked like before I made any changes.
Ingredients:
·       Tools and Accessories:
o   My Digital Studio
o   Reasons I Love You swatchbook download

Wednesday, February 19, 2014

I Think You're Lovely Card

I decided to use a simple layout for this card and the color combination of Crumb Cake and Whisper White to keep it simple. I stamped the wording and image three times since its all on one stamp.  I stamped it once in Pool Party and punched it out using the 1 3/4" Circle Punch.  I stamped it twice in Crisp Cantaloupe and cut one out using the Deco Labels Framelits and cut out just the word "LOVELY" by hand. Then I layered them on top of one another with dimensionals to give it some depth.  I also added the word "LOVELY" in Crisp Cantaloupe on top of the layers to give it a focal point.
Close up of wording and stamped image
After looking at my card for a few days, I decided it needed something more so I added some ribbon.  Since I don't have any Crisp Cantaloupe ribbon, I improvised with some 3/4" Calypso Coral Chevron Ribbon and added some 7/16" Natural Trim Ribbon on top using glue dots.  This helped make the ribbon not look so bright and tied it in a bit more with the Natural Trim.  I love how simple and easy this layout was to put together.  I hope you'll give it a try the next time you're crafting.
Card before ribbon was added
Ingredients
·         Stamps:
o   You're Lovely - a Sale-A-Bration stamp set
·         Paper:
o   Crumb Cake card stock - 4” x 5 ¼"
o   Whisper White card stock 4 ½” x 11” (scored at 5 ½”) and scraps for wording and stamped image
·         Ink:
o   Crisp Cantaloupe
o   Pool Party
·         Tools and Accessories:
o   7/16" Natural Trim Ribbon
o   3/4" Calypso Coral Chevron Ribbon
o   Deco Labels Framelits 
o   1 3/4" Circle Punch
o   Chevron Embossing Folder - embossed the Crumb Cake layer
o   Glue Dots
o   Stampin’ Dimensionals

Wednesday, February 12, 2014

Petite Petals Card

I was in need of a card to send with new catalogs to customers I have not seen recently at my club and classes. I chose the Sale-A-Brarion Sweet Sorbet DSP to quickly pick my color combination of Crisp Cantaloupe, Pistachio Pudding, Pool Party and Whisper White.  I added a Polaroid look using my Pool Party card stock layer and Whisper White layer in the center of the card. I added flowers from the Petite Petals stamp set in Crisp Cantaloupe, Pistachio Pudding and Pool Party and punched them out with the Petite Petals Punch. To complete the card, I added a saying from a
demonstrator business stamp set called Best Decision Ever in Crisp Cantaloupe. I also wrote a personal message inside each card and included an updated events schedule for my previous customers. 
Close up of Petite Petals punched out

Ingredients
·         Stamps:
o   Petite Petals
o   Best Decision Ever
·         Paper:
o   Sweet Sorbet SAB DSP 3"x1"
o   Crisp Cantaloupe card stock 4 ½” x 11” (scored at 5 ½”)
o   Pool Party card stock 3 1/4" x 3 1/4"
o   Whisper White card stock 4” x 5 ¼”, 3"x3" and scraps to stamp and punch out flowers
·         Ink:
o   Crisp Cantaloupe
o   Pistachio Pudding
o   Pool Party
o   Whisper White
·         Tools and Accessories:
o   Petite Petals Punch
o   Stampin’ Dimensionals

Wednesday, February 5, 2014

Heart Easel Card


Valentine's Day is right around the corner!  If you're anything like me, I'm usually scrambling to get all my cards out on time to family and friends. This year I am ahead of the game. I created this easel heart card based on a card I received as a swap at Stampin' Up!'s Leadership Conference. I wanted to make it non-gender specific so I used the Fresh Prints DSP Stack with the color combinations of Coastal Cabana, Crumb Cake, Pool Party and Real Red.  I added the heart image in the middle of the card from Language of Love stamp set to a piece of Whisper White cardstock and cut it out using the Hearts Collection Framelits.
Additional Option: turn over the DSP and use this side instead.
Inside: Added a Real Red Candy Dot to let my easel card stand easily.
To create a heart easel card, you need to...
1.  Cut out 2 Real Red hearts. One heart is cut out by using a 5 3/8" x 11" piece of Real Red cardstock that has been scored at 4 3/4".  Fold it at the score line and use the large scallop heart from the Hearts Collection Framelits to cut through both layers.  To allow your card to fold, place the framelit above the score line so once your cardstock is cut, you will have a fold in your card instead of 2 separate hearts.
2.  Cut out 2 Whisper White hearts using the large heart. 
3.  Choose the next smaller heart layer and cut out 1 Fresh Prints DSP heart. 
4.  Stamp a heart in Real Red like the one from Language of Love stamp set onto a piece of Whisper White.  Cut out the heart using the next smaller heart framelit from Hearts Collection Framelits.  Optional: add Rhinestones to the stamped image.
5.  Layer all of the cardstock hearts and adhere together on the front of the card. 
6.  Add a large Whisper White heart to the inside of the card and add a greeting to finish your card. 
7.  Add a Candy Dot, rhinestone or pearl to the inside of your card to allow the front of your card to stay open like an easel. 
Card opened and standing as an easel.  Sorry I have tried to turn this photo a million times.  It's correct on my computer but not when I load it :(  Hopefully you can still get the idea.
Ingredients:

  • Stamps: 
    • Language of Love
    • Perfect Pennants
  • Paper:
    • Real Red card base - cut 1 large scallop heart with cardstock that is 5 3/8"x 11” (scored at 4 3/4") and folded before cutting with the framelits & 1 large scallop heart
    • Whisper White card stock - cut 2 large hearts using the framelits & one that is the 3rd smallest heart
    • Fresh Prints DSP Stack - cut 1 heart using the framelits
  • Ink:
    • Real Red ink pad
  • Tools:
    • Hearts Collection Framelits
    • Brights Candy Dots
    • Rhinestone Jewels
    • Stampin' Dimensionals